A noisy toilet can be maddening. Everyone knows what you just did and god help you if you need to go in the middle of the night. Sometimes a toilet can be noisy for ages after someone flushes, something is definitely wrong, you could just be wasting water or a breakdown could be just around the corner. Luckily, if you’re dealing with a noisy toilet, there are a few steps you can take right now to see if there’s a quick fix.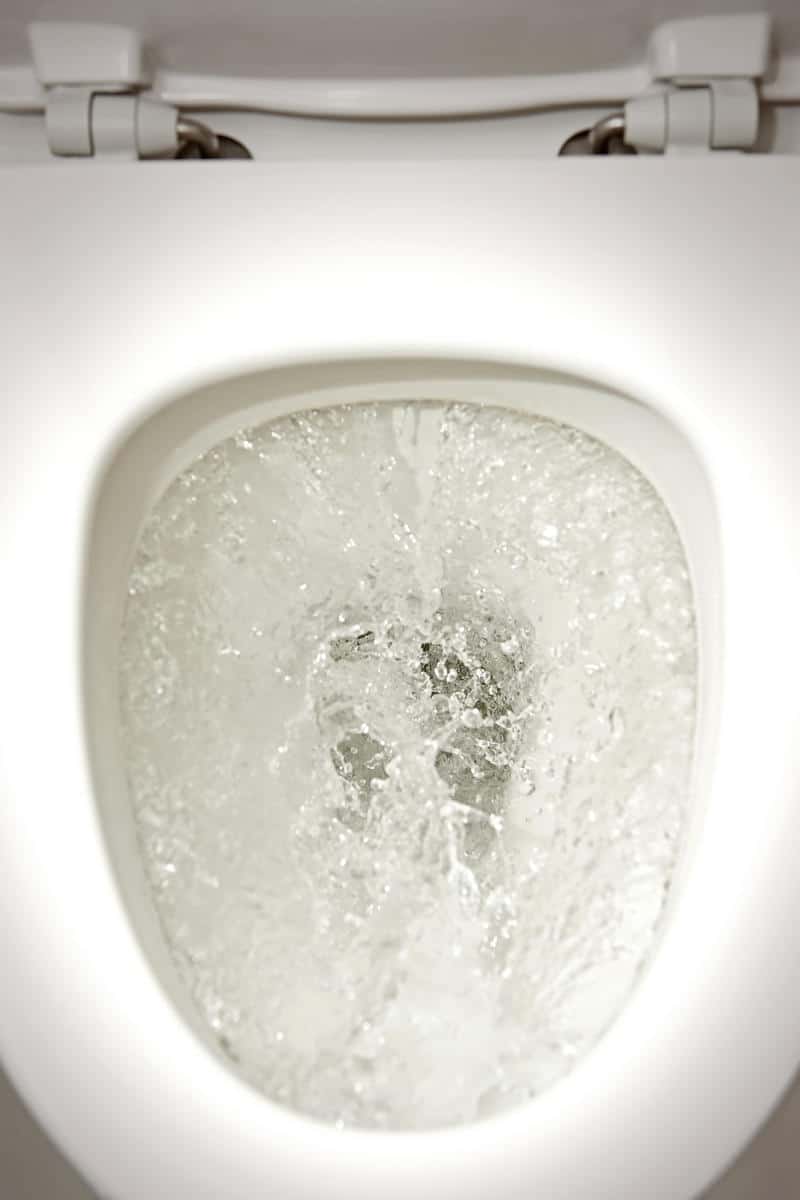
Quick Fixes for Noisy Toilets
- Check to see if your lever has somehow managed to come over the lid of the tank. If your toilet has buttons, then inspect them to see if one has become stuck. Correcting this issue will often solve the noise issue.
- There is a chain which activates the flapper inside the toilet tank that can sometimes get stuck on something if it has a lot of slack. You can tighten the chain to prevent this issue from happening again.
- Inspect your water lines to determine if there is a slow leak happening somewhere that could be causing the noise issue. Running water in the bowl is a common indication of this issue.
- Check for sounds coming from the flush valve.
Faulty Shutoff Valve
Most toilet noise problems are caused by a faulty shutoff valve. Even though your toilet will easily last 15-25 years with good care and ongoing maintenance, the internal components begin to wear out much sooner. You can expect to replace a flush valve in your toilet at least once every 5 years.
If you a lot of noise coming from your flush valve, then here is what you can do about it.
Step 1. Close the shutoff valve.
Make sure that any incoming water to your toilet is turned off before you start working on this project. It’s easy to forget this first step, and then find yourself dealing with a massive mess afterward.
Step 2. Remove the lid.
Take the lid off the toilet tank to access the internal components. Then flush the toilet, holding down the level so that as much water will leave as possible. Once you have removed as much as you can this way, take a towel and dry out the remainder of the tank. If you have any mold or mildew in the tank, then now is the time to clean it.
Step 3. Disconnect the supply line.
Now you’ll need to disconnect the supply line from the underside of the tank. Remove the two bolts that hold the tank to the bowl. Then lift the entire assembly off, using pliers to remove the large nut that’s on the underside of the tank.
Step 4. Remove the old flush valve.
Take your pliers (if needed) and remove the flush valve. Then install the new one its place. Make sure that you securely tighten the mounting nut with your pliers during this step. If it remains loose, then you could have leaks occur – and the noise issue may not be fully resolved either.
Step 5. Attach new bolts to the tank.
Throw out those old bolts that were holding the tank onto the bowl. Replace them with new brass ones to ensure you have a secure connection. Make sure there are washers and hex nuts with them, and then alternately tighten each one. This process will help you to create a secure connection. Don’t overtighten them as this could crack your toilet.
Step 6. Reconnect.
Now all you need to do is reconnect the water supply line to the underside of the tank once again. Make sure the flapper chain is at the correct length. Then turn your water back on. Give it a flush to see if you have solved the problem. You’ll also want to make sure that the toilet functions correctly before calling it a day.
Once you finish these steps, your overflow tube and flapper might need some adjustments. It may take a little trial and error to get the right setup at the end, but it will be worth the effort. Your toilet is going to be quiet once again!
For more information and recommendations on toilet hardware, check out our guide here.


